How to Brine a Turkey Breast: A Step-by-Step Guide
A well-cooked turkey breast should be juicy, tender and packed with flavor. Many home cooks end up with dry, tasteless results. The right brining technique makes all the difference between a memorable meal and a disappointing one. This simple prep method helps you get moist and flavorful results consistently.
The right brine combines salt, seasonings and aromatics in perfect proportions. These ingredients improve the meat’s natural flavors and texture. This piece walks you through everything from making the perfect brine solution to becoming skilled at the brining process. You’ll also learn expert cooking techniques that lead to delicious results. The guide includes timing guidelines, ingredient combinations and professional tips that help you achieve restaurant-quality turkey breast at home.
Benefits of Brining a Turkey Breast
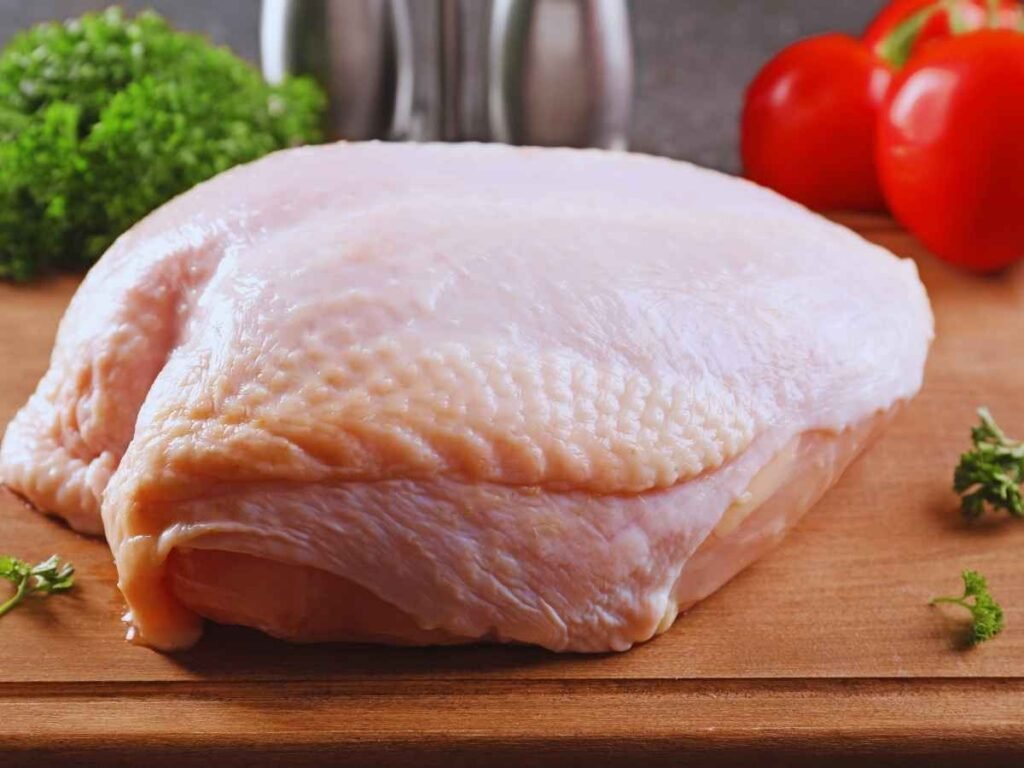
Brining a turkey breast turns a regular piece of poultry into a flavorful and juicy dish. This time-tested technique has most important advantages that make the extra preparation time worthwhile.
Improved Moisture and Flavor
Brining works remarkably well and reduces moisture loss by 30-40% when you cook meat. Salt solution helps the meat absorb more moisture through osmosis and infuses it with flavor simultaneously. Turkey breast retains its natural juices better and tastes significantly better than meat that isn’t brined.
Key benefits of proper brining include:
- Flavor reaches deep inside the meat
- Rich savory taste with a hint of sweetness
- Freedom to add your favorite aromatics
- Less seasoning needed overall
- Meat stays juicier while cooking
Improved Texture
Salt in the brine changes the meat at a molecular level and breaks down tough muscle proteins in the turkey breast. We modified myosin and other proteins to create a more relaxed muscle structure. This allows the meat to absorb more moisture and stay tender during cooking. The turkey breast becomes significantly more tender and maintains its structural integrity while staying pleasantly moist.
Even Cooking
Brining a turkey breast improves the cooking process in ways that many people don’t know about. The relaxed protein structure lets heat spread quickly through the meat and cooks it uniformly. Your brined turkey breast will cook faster than one that isn’t brined, while staying evenly cooked from the outside to the center.
The changed protein structure helps you get that beautiful golden-brown skin. The meat’s ability to hold moisture and the protein changes create perfect conditions for browning. It also spreads salt and seasonings evenly through the meat, so every bite tastes the same. You won’t have the common issue of a tasty outside but bland inside.
Turkey breast meat is leaner than other parts and tends to dry out easily. Brining works great here, especially when you have breast meat to cook. Your turkey breast will stay juicy and full of flavor, even if you cook it a bit longer than you planned. This gives you more room for error while cooking.
Creating the Perfect Brine
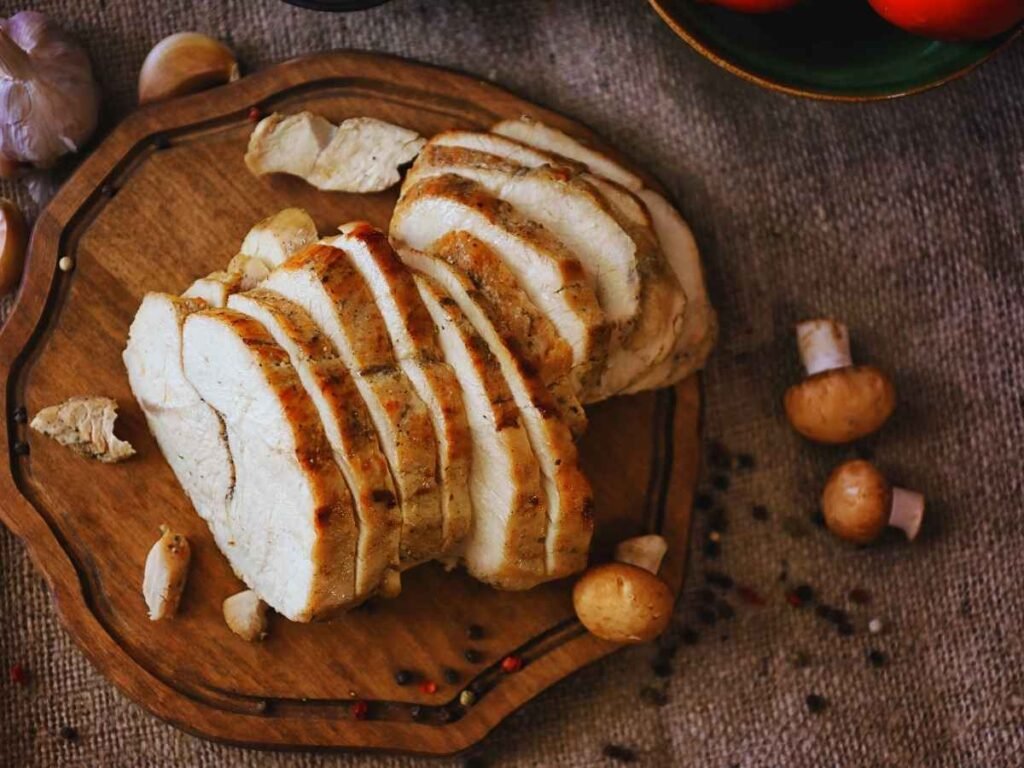
A perfect turkey breast brine needs exact measurements and well-chosen ingredients. The right mix of flavors and precise ratios will make your brine work effectively.
Salt to Water Ratio
Perfect brining starts with the right salt-to-water ratio. A simple turkey breast brine needs 1 cup of kosher salt per gallon of water. The salt type you choose matters a lot. Diamond Crystal kosher salt needs 2 cups per gallon, and Morton’s kosher salt works best at 1⅓ to 1½ cups per gallon. Table salt packs more punch, so you should use just ¼ cup per gallon of water.
Sweeteners and Aromatics
Sweeteners and aromatics change a simple brine into a flavor-packed solution. Brown sugar plays multiple roles when added in equal proportion to salt:
- Balances the saltiness of the brine
- Makes the skin brown better
- Improves moisture retention
- Adds subtle sweetness to the meat
The aromatic brine preparation needs these steps:
- Combine salt and sweetener with water in a large pot
- Add chosen aromatics while bringing to a boil
- Simmer for 5 minutes until salt and sugar dissolve
- Cool completely before using
- Chill to 40°F or below before adding the turkey breast
Customizing Your Brine
Your turkey breast brine offers endless flavor possibilities. Classic aromatics include:
- Fresh herbs (thyme, sage, rosemary)
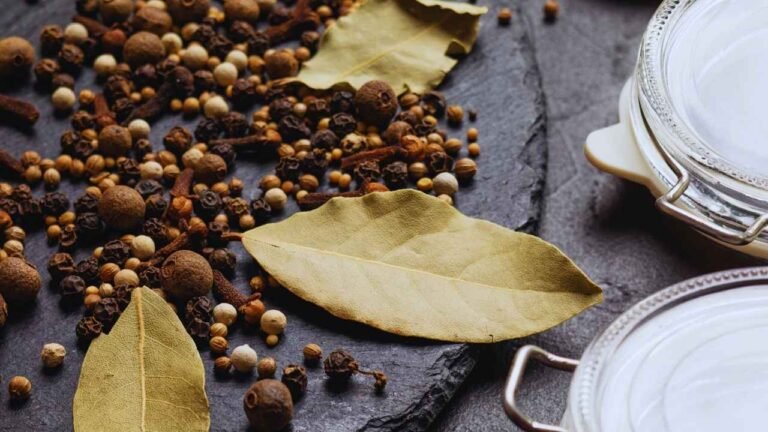
- Whole spices (peppercorns, coriander seeds, fennel)
- Citrus fruits (especially lemon)
- Aromatics (garlic, onions, bay leaves)
Larger pieces of aromatics work better than finely chopped ingredients in your brine. These bigger chunks help the brine penetrate the meat effectively, while tiny particles might create a barrier on the surface. You can store the brine in your refrigerator up to 3 days before use to let the flavors develop fully.
Apple cider makes a great substitute for some water in the brine and adds a sweet-tart flavor that pairs beautifully with turkey. You can create unique taste combinations by mixing different herbs and spices. The simple salt-to-water ratio remains vital whatever additional ingredients you choose.
Your brine’s temperature is a vital part of food safety. The brine needs to cool completely after you combine hot ingredients. Ice added to the solution helps reach the right temperature while keeping the salt concentration balanced. Make sure your turkey breast stays completely submerged in the brine solution to get the best results.
Brining Techniques and Tips
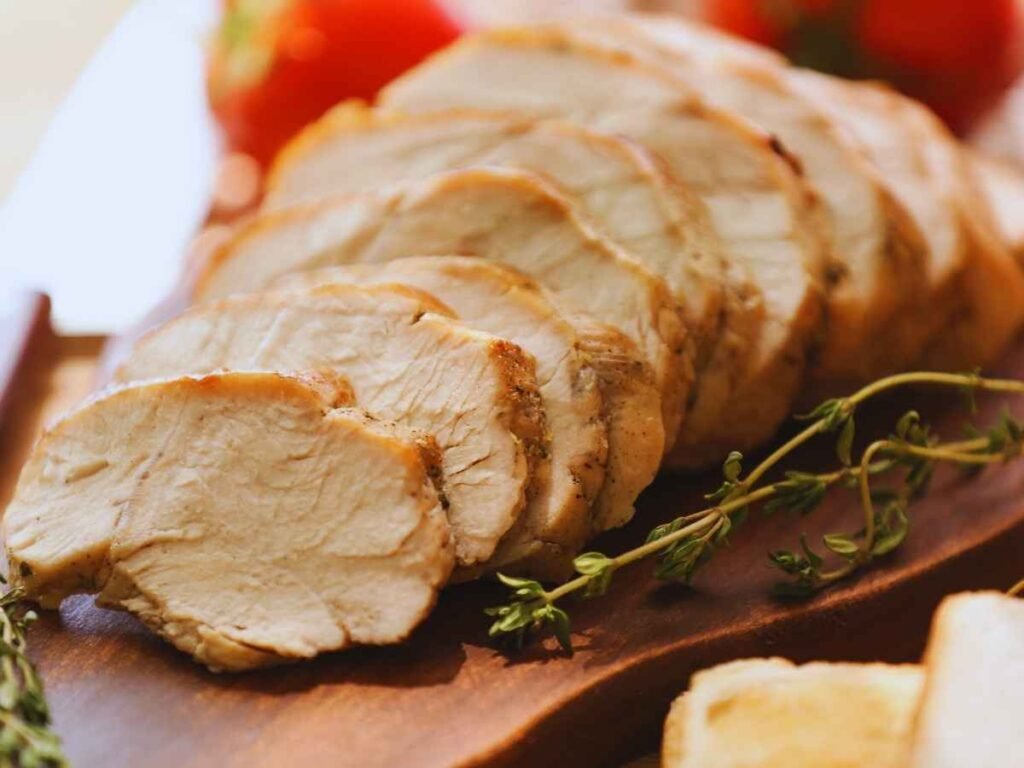
At the time of brining a turkey breast, the right technique transforms good results into exceptional ones. Home cooks can make better decisions that match their needs and circumstances by understanding each brining method’s subtle differences.
Wet Brining vs. Dry Brining
A wet brine submerges turkey breast in a salt-water solution, while dry brining simply applies salt directly to the meat’s surface. These methods each bring unique advantages to your cooking.
Wet Brining Benefits:
- The meat turns out incredibly moist
- You have more room for error while cooking
- The process takes less time than dry brining
- Adding herbs and spices becomes simple
Dry Brining Benefits:
- Your fridge space stays mostly free
- The meat develops deeper flavors
- The skin becomes extra crispy
- The preparation stays clean and simple
Brining Time Guidelines
Proper timing plays a crucial role in successful brining. Here’s everything in the process you need to know:
- Wet Brining Timeline:
- Minimum time: 10 hours
- Optimal duration: 12-15 hours
- Maximum time: 24 hours
- Temperature must stay below 40°F
Your dry brining needs:
- 24-36 hours to achieve optimal results
- 12 hours at minimum to see noticeable effects
- 48 hours maximum to avoid over-salting
Common Brining Mistakes to Avoid
Even seasoned cooks can run into problems when brining a turkey breast. Here are the mistakes you need to watch out for:
Temperature Control Issues:
- Using warm brine solution
- Not keeping refrigeration steady
- Adding turkey to warm brine
- Temperature going above 40°F
Preparation Errors:
- Leaving the turkey in brine too long
- Using table salt instead of kosher salt without adjusting amounts
- Turkey not completely covered in wet brine
- Skipping the drying step after wet brining
- Brining in reactive metal containers
Success in brining comes down to good prep and careful watching. Your turkey breast should stay completely covered when wet brining. A food-safe container or brining bag works best. If you’re dry brining, put the turkey on a rack over a baking sheet. This lets air move around freely.
Temperature control is a vital part of the process. Cool your brine solution completely before use. The turkey breast needs to stay at 40°F or below while it brines. You can use ice packs or keep the container in your fridge to maintain safe temperatures.
Container choice is everything in wet brining. Food-grade plastic containers, stainless steel pots, or special brining bags give the best results. Stay away from aluminum or copper containers – they’ll react with the salt solution and mess up your turkey’s flavor.
The right steps after brining will give a perfect result. Pat wet-brined turkey breasts really well with paper towels before cooking. This step helps you get that crispy skin everyone loves. For dry-brined breasts, you can brush off extra salt if you want to. Most of the salt will have soaked into the meat anyway, so this step isn’t mandatory.
From Brine to Table: Cooking Your Turkey Breast

The experience from brine to table represents a significant final phase to prepare a perfectly cooked turkey breast. The success at this stage relies on proper preparation and attention to cooking techniques that preserve the brining benefits.
Preparing the Brined Turkey for Cooking
The right preparation will give a perfect result once your brining process is complete. Here’s everything in the process:
- Take the turkey out of the brine and rinse it really well under cold water
- Use paper towels to pat it completely dry, making sure to get under the skin
- Let it sit at room temperature for 30 minutes
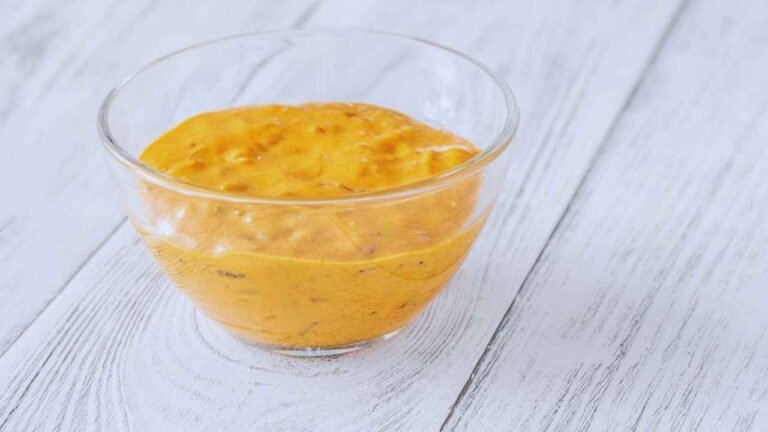
- Spread a thin coating of mayonnaise or softened butter across the surface
- Add your favorite herbs and spices
- Set it on a rack in a roasting pan or get it ready for your preferred cooking method
Roasting, Grilling, or Smoking Methods
Different cooking techniques are a great way to get the best results from your brined turkey breast. Your success depends on proper temperature control and monitoring the internal temperature whatever method you choose.
Roasting Method:The oven needs 450°F at the start, followed by a reduction to 350°F after 20 minutes. A cup of water in the roasting pan’s bottom will stop butter from smoking. The cooking time runs 45-55 minutes until the internal temperature hits 165°F.
Smoking Method:Your smoker should stay between 225-240°F. Apple wood creates a perfect flavor balance. The process takes about 3 hours with steady smoke flow throughout the first 3 hours. Start with the breast side down and flip it when you reach the halfway point.
Grilling Method:The grill needs indirect heat at 275°F. The turkey breast goes on the cooler side. The cooking continues for roughly 3 hours until you reach the target internal temperature of 165°F.
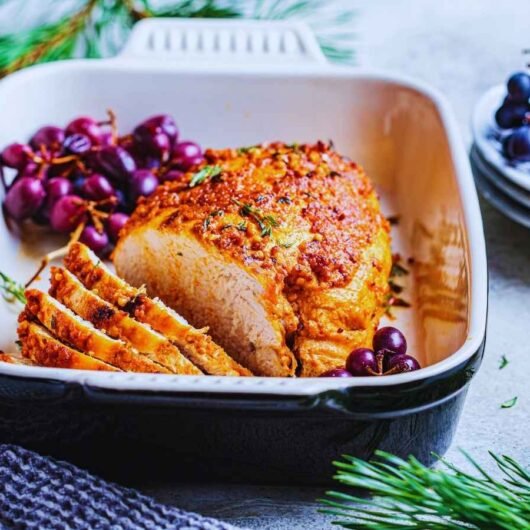
Serving and Enjoying Your Juicy Turkey Breast
Your perfect turkey breast needs a final touch to reach the right temperature and keep its moisture. Take the turkey breast off the heat once it hits the target temperature and cover it with foil. Let it rest 15-20 minutes before you start carving. This helps the juices spread evenly through the meat.
You need a cutting board with enough space to catch the juices. Cut against the grain to make the meat more tender. The turkey tastes best when you serve it warm. Don’t forget to save those flavorful juices – they make excellent sauce.
A well-cooked turkey breast stays fresh in an airtight container in your fridge up to 4 days. Gentle heat works best for reheating to keep the meat moist. The turkey breast travels well too – it stays safe up to 3 hours when wrapped and insulated properly at above 140°F.
Good brining and careful cooking will give you tender, flavorful turkey breast. Your turkey will taste like restaurant quality when you follow these steps. The meat keeps its natural flavors and stays juicy thanks to the brining process.
How to Brine a Turkey Breast: A Step-by-Step Guide
Course: Dinner, LunchCuisine: AmericanDifficulty: Easy8
servings20
minutes3
hours250
kcalThis brined turkey breast recipe ensures juicy, flavorful, and tender meat, perfect for roasting, grilling, or smoking.
Ingredients
For the Brine:
1 gallon water
1 cup kosher salt (adjust for brand)
½ cup brown sugar
4 garlic cloves (smashed)
1 onion (quartered)
2-3 sprigs thyme & rosemary
2-3 bay leaves
1 tablespoon peppercorns
1 lemon (sliced)
Optional: 2 cups apple cider
For Cooking:
1 turkey breast (4-6 lbs)
2 tbsp butter or mayonnaise
Seasoning (salt, pepper, herbs)
Directions
- Make the Brine
Combine water, salt, and sugar in a pot. Add aromatics and simmer for 5 minutes. Cool completely. - Brine the Turkey
Submerge the turkey breast in the brine. Refrigerate for 12-15 hours, ensuring the brine stays below 40°F. - Prep for Cooking
Rinse the turkey, pat dry, and let rest for 30 minutes. Coat with butter/mayo and season. - Cook
Roast: 450°F for 20 minutes, then 350°F for 45-55 minutes (internal temp: 165°F).
Smoke: 225°F for ~3 hours with apple wood.
Grill: 275°F (indirect heat) for ~3 hours. - Rest & Serve
Rest for 15-20 minutes, slice against the grain, and serve warm.
Recipe Video
Notes
- Keep brine and turkey below 40°F.
Brine for 12-24 hours, no more.
Dry thoroughly before cooking.
Cook to 165°F internal temperature.
Rest for 15-20 minutes before slicing.
Conclusion
Becoming skilled at brining turkey breast is one of the most important steps for home cooks who want great results every time. This method reshapes the scene by turning regular poultry into tender, flavorful meat. The secret lies in balancing salt, aromatics, and timing perfectly. The science behind it involves osmosis and protein changes that work together. These changes lead to juicier meat, better flavor absorption, and more consistent cooking.
Any dedicated home cook can achieve exceptional results with brined turkey breast. The process needs proper techniques and correct timing. You’ll get restaurant-quality results that lift special occasions and family dinners when you pay attention to measurements, temperature, and preparation steps. The choice between wet or dry brining methods doesn’t matter much. These basic techniques are the foundations for creating countless memorable meals. Every kitchen can turn out amazing turkey with these methods.
FAQs
What are the steps to brine a turkey?
To brine a turkey, begin by lining a 5-gallon container with a large brining or oven-roasting bag. Place the turkey inside the bag. Mix in the salt with 6 quarts (24 cups) of water and other chosen ingredients. Secure the bag; if the turkey isn’t fully submerged, use a plate as a weight. Refrigerate for 24 hours, turning the turkey once halfway through.
Should I rinse the turkey after brining?
No, it’s not necessary to rinse the turkey after brining, whether it was dry-brined or wet-brined. Instead, pat the turkey dry before seasoning and cooking. Rinsing meat in the sink is also not recommended as it’s not particularly sanitary.
Which brining method is considered the best?
Dry-brining is often preferred for seasoning meat, including poultry and sometimes seafood. This method not only enhances the juiciness and flavor of the meat but also promotes better Maillard browning and crispier skin.
Is wet brining or dry brining better for a turkey?
Both wet and dry brining methods are effective as they prevent the muscle proteins from contracting during roasting, which helps retain the juices. Wet brining adds moisture to the turkey, although this can dilute the meat’s natural flavors. Dry brining enhances flavor without the risk of watering down the meat.

