How to Make Extra-Crispy Fried Chicken Tenders: A Foolproof Recipe (With Step-by-Step Photos)
What’s your guess on what frying temps are required for perfectly crispy chicken tenders? Though most fried chicken tenders recipes call for a single temperature, the key to restaurant-style crispness is a two-step approach, with an initial fry at around 315°F and a finish at 375°F.
But temperature alone is not the only major consideration in the quest for the perfect fried chicken tenders recipe. In fact, the right balance of potato starch and cornstarch in your dredging mixture is what can move your chicken tenders from just good to positively crunchy. The whole thing takes around 55 minutes, from prep through plate, but the results are well worth every minute.
Which is why we have a detailed guide for you on how to fry chicken tenders that are gloriously crispy on the outside and juicy on the inside. Whether you’re a first-time fryer or ready to level up your technique, we’ll guide you through every stage for that ideal golden-brown crunch.
Essential Equipment and Setup for Perfect Fried Chicken Tenders
If you want to make frying chicken tenders restaurant-quality, you need to clot your kitchen properly. For starters, having the right kit will help you achieve reliable results.
Must-Have Tools and Equipment
For frying chicken tenders, you really can’t beat a heavy-bottomed Dutch oven with high sides to keep oil splatters contained. You will also need two key types of thermometers:
- An alarm thermometer with a probe clip for constant oil monitoring
- An instant-read thermometer for checking chicken doneness
In addition, you will want long-handled tongs (two pairs, to avoid cross-contamination), and wire cooling racks set over baking sheets.
Setting Up Your Frying Station
To create an efficient frying station, follow these steps:
- Position your Dutch oven on the stovetop with at least 2 inches of clearance at the top after adding oil
- Set up your thermometer with high-temp alarm at 365°F and low-temp alarm at 345°F
- Arrange cooling racks over paper-towel-lined baking sheets
- Keep a separate set of tongs for raw and cooked chicken
Oil Selection and Temperature Control Tips
Choosing the appropriate oil is essential to that perfect golden-brown exterior. The best options include:
Another great option for frying chicken tenders is peanut oil, which has a smoke point of 450°F. Canola oil, which has a 400°F smoke point, is another dependable choice. Both impart little flavor, so your seasonings can shine through.
For best results, keep your oil temperature between 350°F–375°F while frying. More specifically, the temperature will drop when you add the chicken, so you’ll need to compensate with the heat. Fry in small batches, usually 3-4 pieces at once, to avoid cooling down the oil tOo much.
And don’t forget to let your breaded tenders rest for 15 minutes or so before frying; that makes for a crispier bite. After frying, do not set the tenders on paper towels; instead, let them rest on a wire rack so that they stay crispy.
The Science Behind Extra-Crispy Chicken Tenders
The science of crispy fried chicken tenders will help you understand the key to a better crunch. To begin with, let’s understand why some techniques produce the very texture you’re looking for.
How Different Flours Affect Crispiness
The secret to ultra-crispy chicken tenders lies in combining different types of flour and starches. Your coating mixture should include:
- All-purpose flour – Creates the base structure
- Potato starch – Provides larger granules for better crunch
- Cornstarch – Prevents gluten development for increased crispiness
- Baking powder – Creates tiny air bubbles when fried
The Role of Temperature in Creating Crunch
Temperature management is crucial during all steps of frying. To get the best results, your oil needs to follow a specific temperature pattern:
- First fry: Maintain 315-325°F for initial cooking
- Second fry: Heat oil to 375°F for final crisping
- Monitor constantly: Never let temperature drop below 300°F
The first fry basically extracts moisture and reconstitutes the microscopic anatomy of the coating. The second fry follows, making that glass-like crackle texture you’re craving.
Why Double-Dredging Makes a Difference
Double-dredging is not simply placing a thicker crust — it is science. This technique also creates an insulating layer between the hot oil and your chicken, so moisture doesn’t escape, leaving you with dried, sad meat.
That works in a couple of ways:
The first flour coating forms a moisture seal. So with the second coating, it sticks a little better and gives you a little more surface area to brown. Then comes the Maillard reaction, in which the proteins are broken down and reformed into hundreds of new flavor compounds.
To get the most out of the double dredge, press the breading firmly onto your chicken tenders, and let them rest a few minutes before frying. This has the coating a touch gooey for a while, but it leads to better crispiness in the end.
Step-by-Step Guide to Crispy Fried Chicken Tenders
The secret to restaurant-style crispy chicken tenders is being sure to follow a few key steps. Without further ado, lets see how to make these golden brown gems.
Preparing and Seasoning the Chicken
The first thing to keep in mind: Pat your chicken tenders dry before seasoning. Make your own seasoning blend with:
- 1 teaspoon paprika
- 1 teaspoon kosher salt
- 1/2 teaspoon black pepper
- 1/2 teaspoon garlic powder
In a small bowl, combine and mix these seasonings well. With all of that in mind, dredge each of your chicken tenders in the seasoning mixture until fully coated.
Mastering the Dredging Process
The dredging makes that magical crispy coating, so it’s important to get that right. Popular on Food52 Set up a three shallow bowls for your breading station:
- First bowl: Seasoned all-purpose flour
- Second bowl: Beaten eggs mixed with 2 tablespoons water
- Third bowl: Panko breadcrumbs
Basically, all it requires is some dominant press to spur the coating to cling to each of the tenders. After breading, allow to sit 5 minutes to aid breading to adhere better.
Proper Frying Technique and Timing
Well, the secret really lies in how you fry the chicken tenders. Follow these critical steps:
- Heat oil to 375°F in your prepared skillet
- Gently place breaded tenders in the oil, avoiding overcrowding
- Cook for 3-4 minutes on each side until golden brown
- Remove to a paper towel-lined plate or cooling rack
- Optional: Sprinkle with sea salt flakes while hot
Ideally, fry in batches of 4-5 pieces at a time. The internal temperature must hit 165°F for food safety. Let the tenders rest for 1-2 minutes after cooking before serving.
Use a thermometer to make sure the oil temperature is consistent from batch to batch, if you’re making a larger amount. This technique ensures that every tender ends up with that signature golden-brown exterior while remaining juicy inside.
Common Mistakes and Troubleshooting
Even practiced cooks have trouble producing crispy fried chicken tenders. However, there are common pitfalls that you can keep in mind to ensure perfect results every time.
Why Breading Falls Off (And How to Prevent It)
The most maddening thing about fried chicken tenders is breading that pulls away and falls off. In fact, this is the result of these common errors:
- Not drying the chicken thoroughly before coating
- Skipping the resting period after breading
- Using too much flour in the coating
- Moving the chicken pieces too much while frying
- Incorrect oil temperature
Pat your chicken thoroughly dry with paper towels to prevent breading separation. Most importantly, let the breaded chicken rest before frying — it allows the coating to hydrate and become slightly tacky.
Fixing Temperature Control Issues
Controlling the temperature when cooking chicken tenders is vital to perfect crispiness. Keeping a consistent oil temperature sounds impossible, but if you do the following steps, you’re golden
- Heat oil to 375°F before starting
- Use a probe thermometer to monitor temperature constantly
- Adjust heat as needed to maintain 350-375°F range
- Allow oil to recover between batches
- Avoid overcrowding the pan
It mainly will make your chicken greasy if your oil temperature is low. Or, if it’s too high, you’ll have a burnt exterior and raw center.
Solutions for Uneven Cooking
Imperfect height, arrangement, or technique often means uneven cooking. To ensure consistent results:
To properly fry, set up a wire cooling rack over a stack of paper towels. That will prevent steam from softening your crispy coating. Also, don’t make the common mistake of laying fried chicken directly on paper towels — this traps moisture and makes the fried bird soggy.
Fry them with space in between for best results. The key is to check for doneness with a meat thermometer — chicken must be at an internal temperature of 165°F. If you see uneven browning, your oil might be bouncing up and down too much.
Ensure that you also rest the breaded chicken for 15 minutes before frying. This simple step greatly increases the adhesion of the coating, as well as providing for even cooking throughout the length of the piece.
Storage and Reheating Methods
How you store and reheat your crispy chicken tenders is just as important as how you initially cooked them. Here are some tips on how to preserve that signature crunch post-storage.
Best Practices for Storing Fried Chicken
It all starts after you cook them because the secret to keeping chicken tenders crispy lies there. Most importantly, let your tenders cool completely to room temperature. That prevents condensation from making them soggy.
For refrigeration storage:
- Place paper towels at the bottom of an airtight container
- Arrange tenders in a single layer
- Add another paper towel layer on top
- Seal tightly and store for up to 3-4 days
You can store your chicken tenders for up to 3 months in the freezer. Most importantly, flash-freeze them first by:
- Placing tenders on a baking sheet in a single layer
- Freezing for 1-2 hours
- Transferring to an airtight container or freezer bag
How to Reheat While Maintaining Crispiness
What is the best way to reheat chicken tenders will depend on how much time and equipment you have at your disposal. Here are the most efficient ways:
Oven Method (Best for Large Batches):
- Preheat to 400°F
- Place tenders on a wire rack over a baking sheet
- Heat refrigerated tenders for 10-15 minutes
- For frozen tenders, extend time to 20-25 minutes
Air Fryer Method (Optimal for Crispiness):
- Preheat to 375°F
- Cook refrigerated tenders for 5-7 minutes
- For frozen pieces, increase time to 10 minutes
- Flip halfway through cooking
So, basically, don’t microwave unless you must, as it tends to make your tenders soggy. If you decide to use the microwave, cover with a damp paper towel and heat in 30-second intervals.
Make-Ahead Tips and Tricks
These are special chicken tenders: planning to prep them in advance? Here are some professional tips to keep in mind:
- Remove any sauces or toppings before storage
- Create a vacuum-seal effect by removing excess air from storage bags
- For optimal results, store within 24 hours of initial cooking
Remember that for the safety of food, always check whether the internal temperature of the reheated chicken is 165°F. In the end, the chicken tenders do well to be reheated once, but with repeated reheating, the overall quality of the tenders may suffer.
For occasions or parties, you could use the double-fry technique: fry until near done, and then give them a last quick fry just before you serve. This technique guarantees that your guests get that fresh-from-the-fryer feeling.
Conclusion
Making restaurant-quality crispy chicken tenders requires attention to detail and proper technique. Armed with the right equipment, temperature control, and understanding of the science behind crispiness, you can create perfectly golden-brown tenders every time.
Remember that success lies in following crucial steps: maintaining precise oil temperatures, using the right flour combination, and mastering the double-dredging technique. These elements work together to create that signature crunch while keeping the meat juicy inside.
Practice makes perfect with fried chicken tenders. Start with small batches, monitor your temperatures carefully, and adjust your technique based on results. Though the process might seem detailed, the reward of serving perfectly crispy chicken tenders makes it worthwhile. Your family and friends will surely appreciate the extra effort you put into mastering this classic comfort food.
How to Make Extra-Crispy Fried Chicken Tenders: A Foolproof Recipe (With Step-by-Step Photos)
Course: DinnerCuisine: AmericanDifficulty: Easy6
servings25
minutes20
minutes400
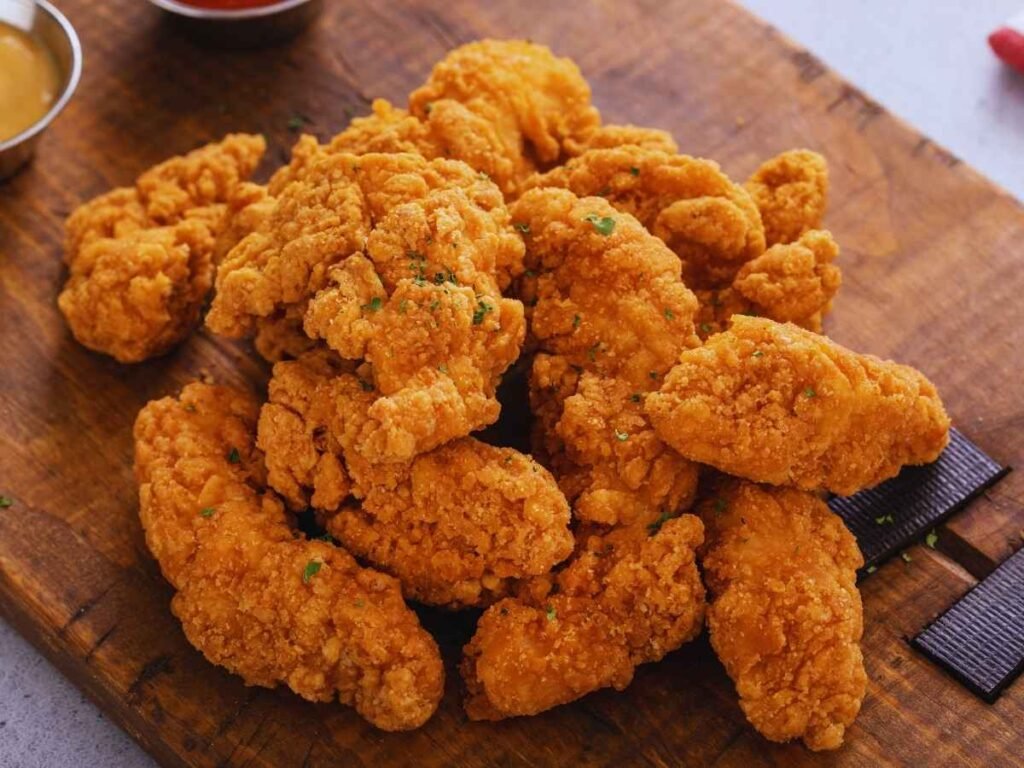
kcalThese supercrisp fried chicken tenders are golden and crunchy, but also lusciously juicy within — just like the version you get at your favorite restaurant. This recipe is designed to deliver perfect tenders every time with a foolproof double-dredge method and a two-step frying process.
Ingredients
1.5 to 2 lbs chicken tenders or boneless chicken breasts, cut into strips
1 tsp paprika
1 tsp kosher salt
½ tsp black pepper
½ tsp garlic powder
¾ cup all-purpose flour
¼ cup potato starch
¼ cup cornstarch
1 tsp baking powder
½ tsp salt
2 large eggs
2 tbsp water
1½ cups panko breadcrumbs
4–6 cups peanut oil or canola oil, for frying
Optional: sea salt flakes, dipping sauces for serving
Directions
- Pat chicken tenders dry with paper towels.
- Mix paprika, salt, pepper, and garlic powder; season chicken evenly.
- In Bowl 1, mix flour, potato starch, cornstarch, baking powder, and salt.
- In Bowl 2, beat eggs with 2 tablespoons of water.
- In Bowl 3, add panko breadcrumbs.
- Dredge each chicken piece in flour mixture, then egg wash, then panko.
- Press coating firmly and let breaded chicken rest on a wire rack for 15 minutes.
- Heat oil in a Dutch oven to 375°F (190°C), using a thermometer to monitor.
- Fry chicken tenders in small batches (3–4 pieces) for 3–4 minutes per side.
- Ensure internal temperature reaches 165°F (74°C).
- Transfer fried chicken to a wire rack to cool; optionally sprinkle sea salt while hot.
- For extra crispiness, double-fry: first at 315°F until light golden, then at 375°F to finish.
Recipe Video
Notes
- To get maximum crunchiness, allow the breaded tenders to sit for 15 minutes before frying, and do not put them on paper towels; put them on a wire rack so they don’t get soggy after you cook them.
FAQs
What's the secret to achieving extra-crispy chicken tenders?
The trick is to use a combination of flours and starches in your coating, like all-purpose flour, potato starch and cornstarch. In addition, double-frying at different temperatures (315°F, then 375°F) creates that ultimate crunch.
How can I prevent the breading from falling off my chicken tenders?
Keeping the breading intact: Make sure your chicken is bone dry before you coat it, let the breaded tenders rest for about 15 minutes before frying, and don’t move them around too much while they’re in the oil.
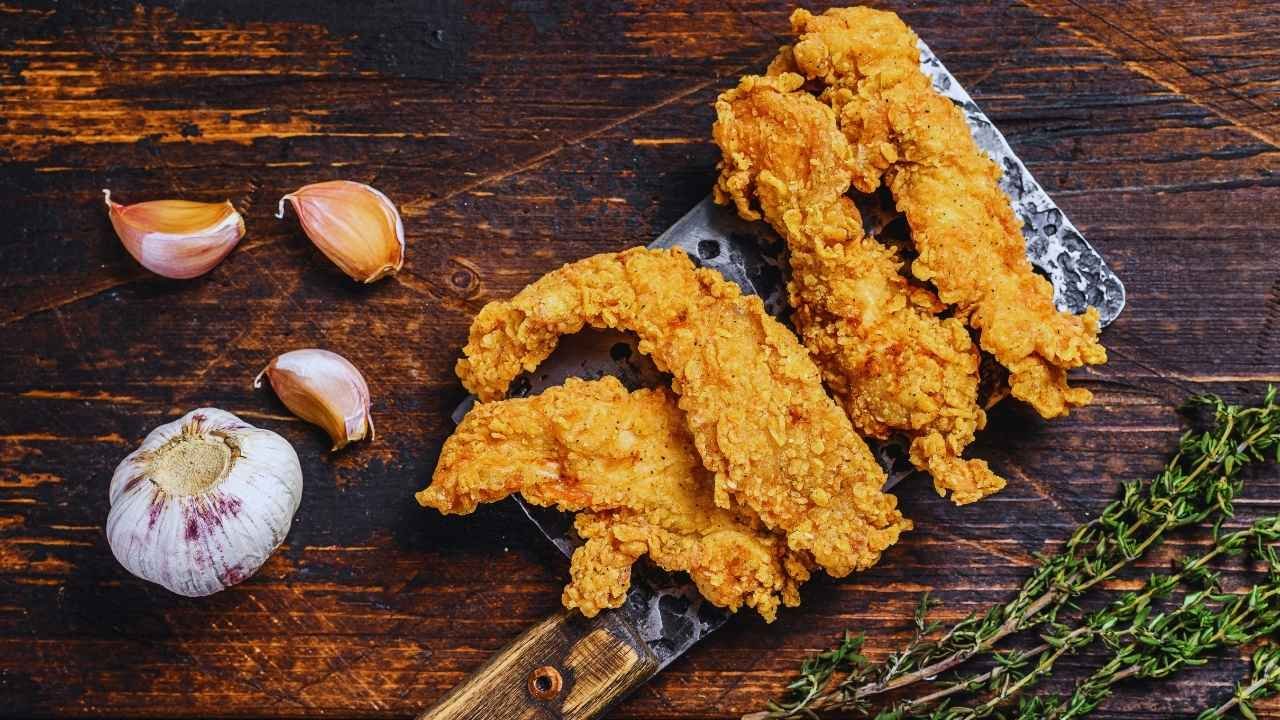
What's the best oil for frying chicken tenders?
Peanut oil is ideal because it has a high smoke point (450°F), but you can also use canola oil (400°F). Both oils impart a subdued flavor which allows your seasoning to take center stage.
How do I maintain the crispiness when reheating chicken tenders?
To reheat your chicken tenders best, put them in a 400°F oven for 10-15 minutes or in an air fryer at 375°F for 5-7 minutes. Never using a microwave because it makes the tenders watery.
What's the ideal internal temperature for fully cooked chicken tenders?
For food safety, make sure your chicken tenders have been cooked to an internal temperature of 165°F; a meat thermometer can help you check that they’re done, especially if you’re reheating tenders that you’ve kept on hand.