How to Make an Easy Zucchini Bread Recipe in 5 Simple Steps
A homemade zucchini bread recipe combines healthy vegetables with delicious baking into one simple dish. Fresh zucchini turns into a moist, flavorful treat that everyone loves. You can make this recipe at home through five clear steps that take you from picking ingredients to pulling out a golden-brown loaf.
This complete guide helps you make zucchini bread from scratch with confidence. You’ll learn to pick the best zucchini, gather your tools, and mix and bake the perfect loaf. The techniques work every time, whether you want a basic recipe without nuts or plan to try different variations. Your bread will come out perfect each time you bake it.
Select Quality Zucchini
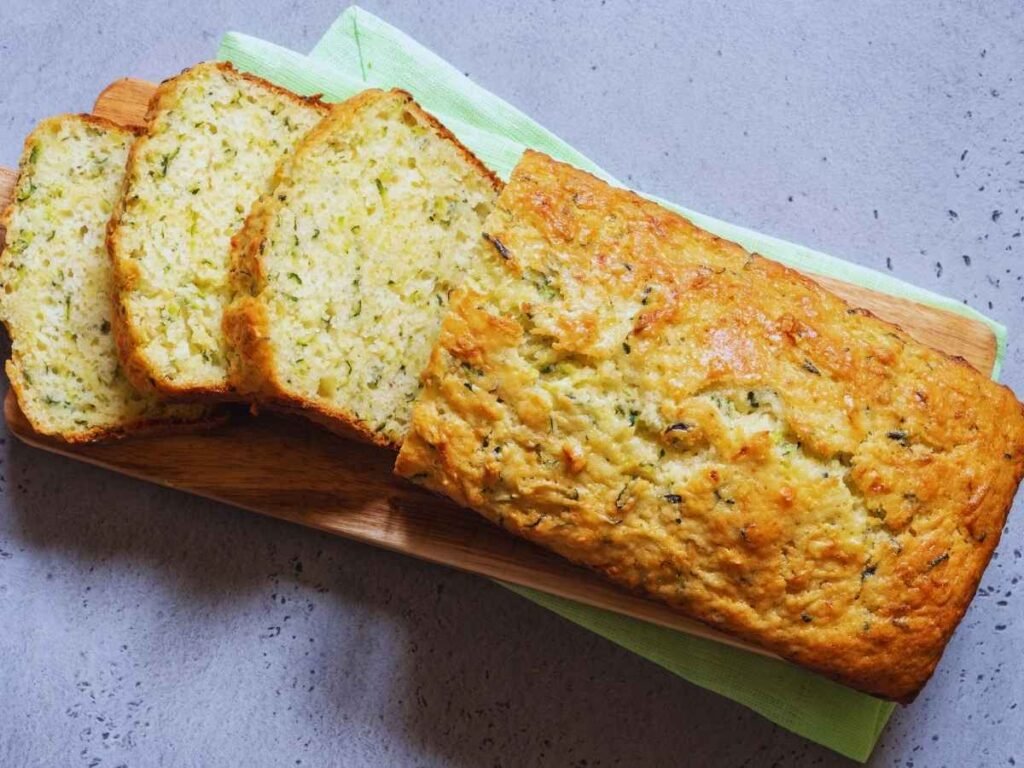
Perfect zucchini selection is the key to an easy zucchini bread recipe. The right choice and proper handling of this versatile vegetable will give the best results in your homemade zucchini bread.
Choosing the Right Size
The size of your zucchini matters by a lot when making great bread. Perfect zucchini should be 6 to 8 inches long. Smaller zucchini contain more moisture and natural sweetness, and these qualities make delicious, moist bread. Your bread’s texture will suffer if you use zucchini larger than 8 inches because they become dry and bitter. Large zucchini’s tough skin and big seeds can ruin your bread’s texture.
Freshness Indicators
At the time of selecting zucchini for bread-making, these quality indicators matter:
- Smooth, shiny skin without cuts, bruises, or dents
- Firm texture that feels heavy for its size
- Vibrant, consistent color
- No soft or mushy spots
- Clean, fresh appearance without wrinkles
The zucchini’s firmness becomes evident with a gentle squeeze. A heavier zucchini suggests higher moisture content that adds to the bread’s moistness. The best results come from using zucchini within 5-7 days after purchase. Store it unwashed in your refrigerator’s crisper drawer.
Organic vs. Conventional
Your choice between organic and conventional zucchini really comes down to what you prefer and what fits your budget. Organic zucchini costs about 47% more than regular ones because farmers face tougher growing conditions and stricter rules. Both types pack the same nutritional punch with vitamin C, fiber, and antioxidants.
Organic farmers stick to natural pesticides and fertilizers. On the other hand, conventional growers use modern farming techniques to keep pests and diseases away from their crops. This means you’ll find conventional zucchini more easily, and they last longer on your shelf. Your zucchini bread will turn out great with either type since the baking steps stay the same whatever growing method you pick.
You don’t need to peel your zucchini before making bread unless that’s what you like. The skin adds extra nutrients and leaves pretty green specks in your finished loaf. Just give it a good wash to get rid of any dirt before you start baking.
Prepare Your Kitchen
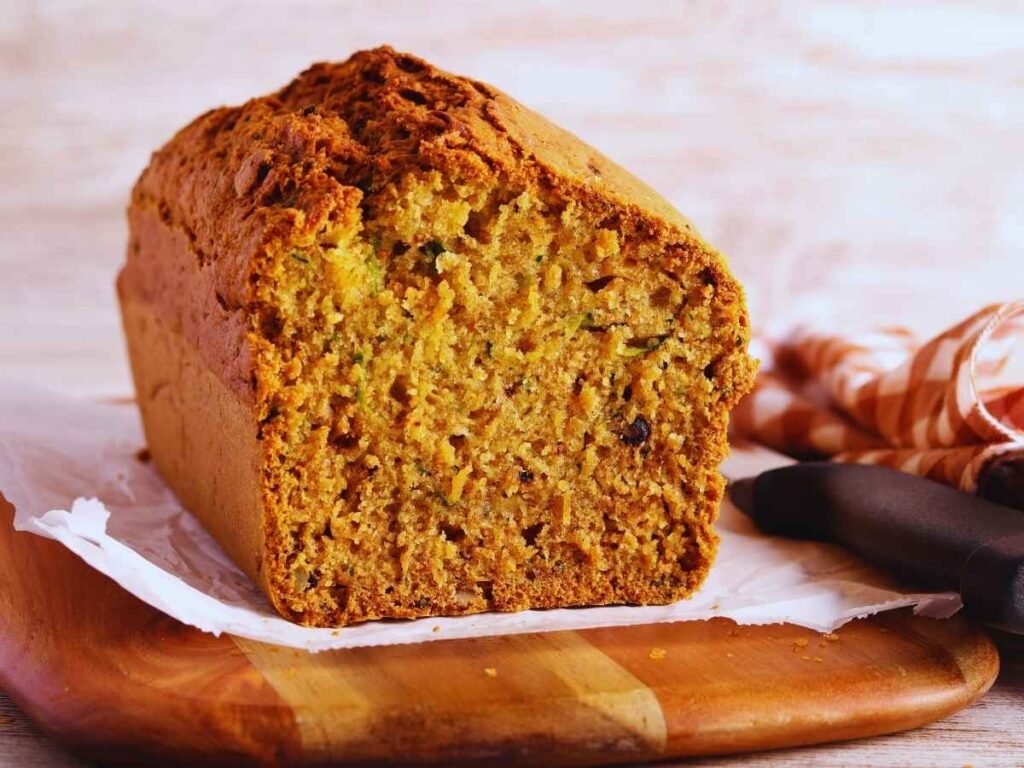
The perfect zucchini bread recipe needs significant preparation. A clean, efficient kitchen setup and proper tools help create a seamless baking experience from beginning to end.
Tools and Equipment
You’ll need these kitchen tools to make this zucchini bread recipe:
- Large mixing bowls to separate wet and dry ingredients
- 9×5-inch loaf pan (light-colored aluminum works best)
- Box grater or food processor with shredding disk
- Large balloon whisk and silicone spatula
- Parchment paper
- Non-stick cooking spray or butter
- Fine-mesh sieve (you can use this to sift ingredients)
Setting Up Your Workspace
A well-hosted workspace will give a smooth process to make zucchini bread from scratch. Clear your counter space and keep all tools within reach. The loaf pan needs parchment paper with some overhang on the sides. This simple step will help remove the bread easily and prevent it from sticking after baking.
Metal utensils can damage non-stick surfaces, so use alternatives instead. Your non-stick pans will last longer if you wash them by hand. Place the fine-mesh sieve or mixing bowls on a steady surface to avoid spills while mixing.
Preheating the Oven
Perfect zucchini bread needs the right temperature and rack position. Position the oven rack in the middle position just below center to distribute heat evenly. A standard 9×5-inch loaf pan requires you to preheat the oven to 325°F. Your bread will bake really well at this lower temperature without getting too brown on top or bottom.
The temperature needs adjustment based on portion size. Muffins need a higher temperature of 400°F because they bake faster and must rise quickly. Multiple loaves need enough space between pans so air can circulate properly.
Your choice of pan will affect both temperature and baking time. Even baking happens best in light-colored aluminum pans that prevent over-browning. Dark pans might need temperature adjustments. These temperature guidelines work the same for basic zucchini bread without nuts, though baking times may differ slightly.
Your oven needs 10-15 minutes to reach the right temperature completely. An oven thermometer helps confirm accurate heating. The bread will rise properly and have the right texture when it starts baking in a fully preheated oven.
Create the Perfect Batter
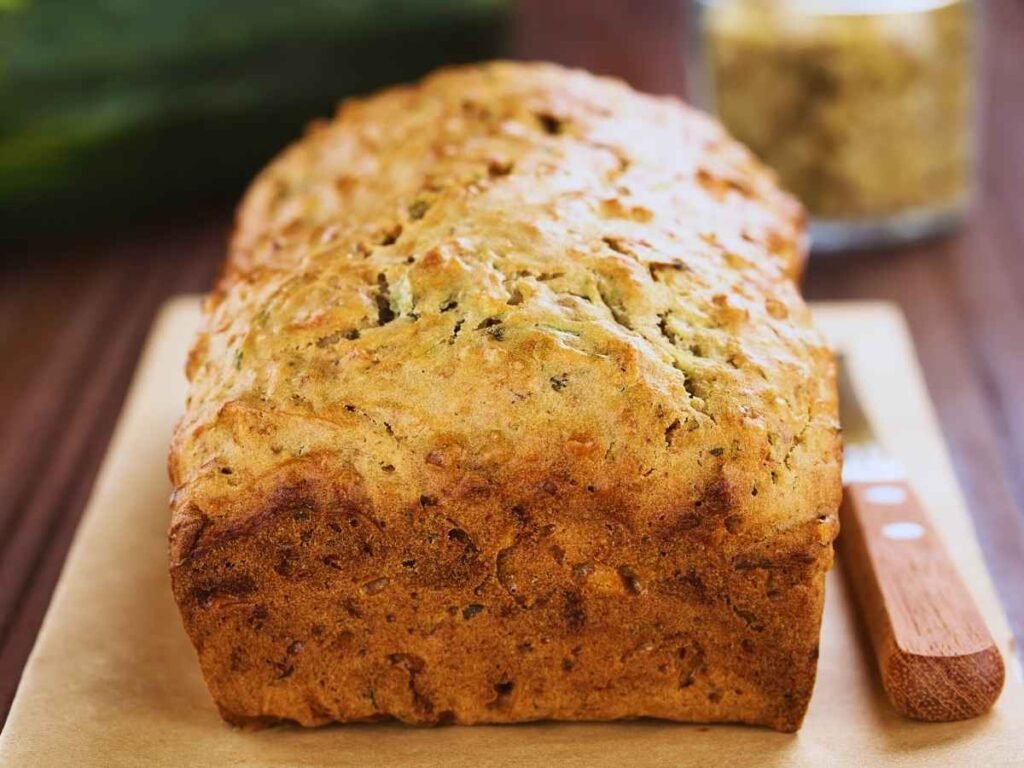
Making the perfect batter is a vital step that turns simple ingredients into delectable zucchini bread. The process needs careful attention to detail and proper technique to create ideal consistency and texture.
Mixing Dry Ingredients
A perfect zucchini bread recipe begins with well-combined dry ingredients. Grab a large bowl and whisk these ingredients together:
- All-purpose flour
- Baking soda
- Baking powder
- Ground cinnamon
- Salt
- Ground nutmeg (optional)
Thorough whisking will give a consistent blend of leavening agents and spices throughout the flour. This method prevents any unwanted ingredient clusters in your finished bread. The process becomes even more significant especially when you have a nut-free zucchini bread recipe, because the spices play a vital role in creating the perfect flavor.
Combining Wet Ingredients
Perfect consistency in your wet ingredient mixture needs careful attention. Mix eggs, sugar, and vanilla extract in a separate bowl until they blend well. For enhanced moisture, many bakers add applesauce or Greek yogurt with the traditional oil to create a perfectly moist texture.
Follow these steps to get great results:
- Whisk sugar and eggs until they become light and combine well
- Add vanilla extract and blend completely
- Mix in oil and moisture boosters (applesauce or yogurt)
- Combine ingredients just enough
- Make sure the mixture stays smooth without overbeating
Incorporating Zucchini
Your zucchini bread’s success depends on how you prepare and incorporate the zucchini. Never peel the zucchini, because its skin has nutrients and creates beautiful green flecks in your bread. A food processor with a shredding disk creates perfect, plump shreds that work best for baking. Small batches turn out great with a box grater too.
Timing is a vital part of mixing ingredients. You should pour the wet mixture into the dry ingredients and gently fold with a silicone spatula or wooden spoon. Stop mixing as soon as no dry flour remains visible to keep your bread from getting tough. The freshly grated zucchini needs to be folded in until it spreads evenly through the batter.
Your batter should look thick and somewhat lumpy – that’s exactly what you want. This texture will give a moist, tender crumb to your finished bread. Any nuts or dried fruits should go in with the zucchini to keep mixing time short.
Successful bakers watch for visual clues. The perfect batter holds its shape after dropping from a spoon but spreads easily. Avoid the common mistake of trying to mix until smooth – this builds up gluten and makes your bread dense and tough.
Bake with Precision
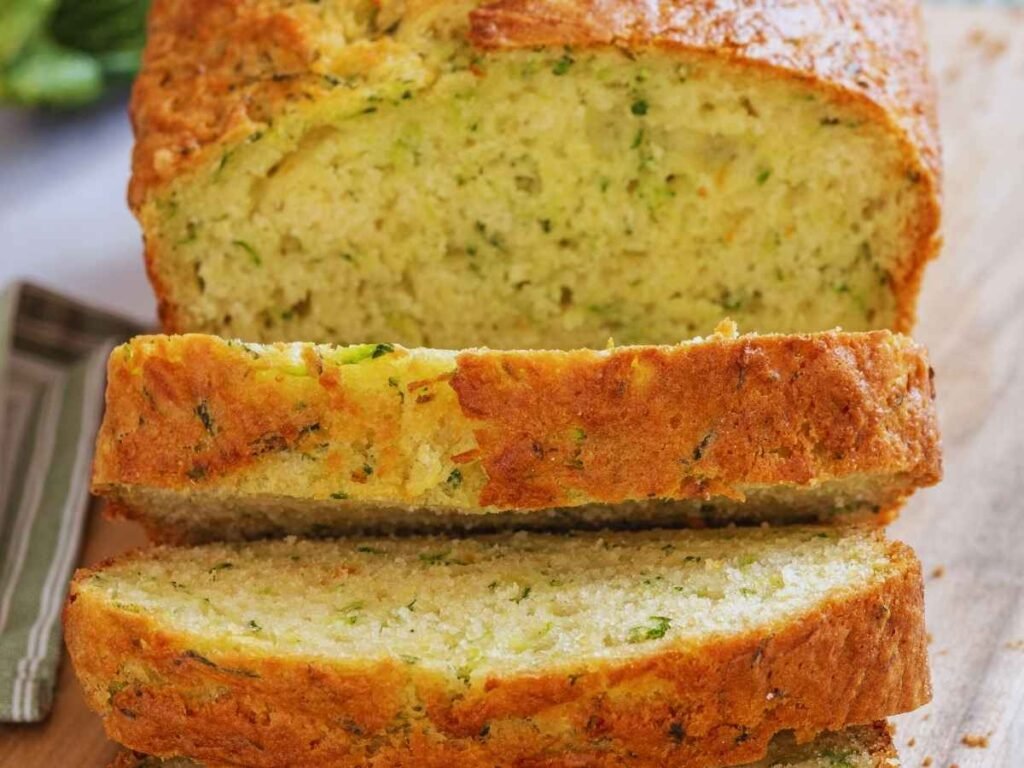
Precise measurements and techniques will give a perfect zucchini bread consistently. Your attention to detail makes each loaf turn out great, regardless of whether you choose to add nuts to your recipe.
Proper Pan Preparation
The right baking vessel makes all the difference in your success. A 9×5-inch aluminum loaf pan works best to make zucchini bread from scratch. The light-colored aluminum helps achieve even browning and prevents your crust from getting too dark. The pan should not be more than 2/3 full to give your bread enough space to rise.
Your pan needs these key prep steps:
- Really grease the pan with butter or non-stick spray
- Line with parchment paper and leave overhang to lift out easily
- Add a light coat of grease to the parchment paper
- Use an offset spatula to spread the batter evenly
Ideal Baking Temperature
Your perfect zucchini bread needs precise temperature control. Preheat the oven to 350°F (177°C) and place the rack in the middle of the oven. This setup ensures even heat distribution and helps the bread rise beautifully with a golden-brown crust.
The top might brown too fast as it bakes. A loose cover of aluminum foil will protect it from getting too dark and lets the center cook completely. This step becomes essential when you have larger loaves that need more time in the oven.
These timing guidelines will help you get consistent results:
- Standard 9×5-inch loaf: 55-65 minutes
- Mini loaves: 35-45 minutes
- Check doneness at minimum baking time
- Add time in 5-minute increments as needed
Testing for Doneness
You need to watch several indicators to determine when zucchini bread reaches perfect doneness. A combination of visual cues and temperature testing provides the most reliable results. The internal temperature should reach 200°F (93°C) to achieve optimal doneness.
Follow these testing steps:
- Insert a toothpick into the center – it should come out mostly clean
- Check the internal temperature with an instant-read thermometer
- Look for a golden-brown color and slightly cracked top
- Gently press the surface – it should spring back
- Observe edges pulling away from the pan
Common baking issues and solutions:
- Sinking center: Proper oven temperature ensures complete cooking
- Uneven baking: Rotate pan halfway through baking time
- Dry edges: Monitor oven temperature accuracy and avoid overbaking
- Sticky center: Add baking time with foil covering
Your bread’s structure depends on the right timing to remove it from the pan. Allow the bread to cool in the pan for exactly 10 minutes after removing from the oven. The gluten structure sets properly during this cooling period and prevents collapse. Move it to a wire rack afterward to cool completely before slicing.
Temperature fluctuations can affect your bread’s rise and texture, so limit opening the oven door while baking. The best way to use a thermometer is to insert it into the center and pull it out slowly. Watch for the lowest temperature reading to ensure the loaf bakes evenly throughout.
Note that different ovens might need slight adjustments to temperature and timing. Your altitude, humidity, and pan material can affect baking time. Regular checks in the final minutes of baking help you achieve consistently perfect results.
Finish and Serve

A perfect easy zucchini bread needs careful attention after baking. The right cooling, storage and serving methods will keep the bread moist and boost its natural flavors.
Cooling Techniques
Your bread’s structure needs proper cooling to stay fresh and crispy. Let it rest in the pan for exactly 10-15 minutes after taking it out of the oven. The quickest way to get perfect results is to place the loaf sideways on a wire cooling rack. This helps the bread’s edges stay crisp and keeps the bottom from turning soggy. The bread develops a perfect crust texture because air flows evenly around it when cooled on its side.
Storage Methods
Zucchini bread’s shelf life changes based on how you store it:
- Room temperature: 3-4 days in an airtight container
- Refrigerator: Up to 1 week when properly wrapped
- Freezer: 2-3 months to maintain best quality
- Vacuum-sealed freezer storage: Up to 6 months
Let the bread cool completely before storing it. A tight wrap with aluminum foil or plastic wrap works well at room temperature inside an airtight container. The refrigerator needs double-wrapping to keep the moisture locked in. For freezer storage, wrap individual slices or whole loaves in plastic wrap first. Add a layer of aluminum foil and place them in a freezer-safe bag after removing excess air.
Serving Suggestions
This simple zucchini bread recipe without nuts gives you many ways to enjoy it. Here’s how you can serve it best:
- Let refrigerated bread come to room temperature before serving
- Toast slices lightly to improve flavor with a crispy exterior
- Add cream cheese on top to make it richer
- Add a honey drizzle to sweeten it up
- Serve with fresh fruit as a complete breakfast
At the time you need to serve frozen bread, thaw it overnight in the refrigerator. You can also try the quick-thaw method: microwave individual slices for 15-second intervals until they reach the right temperature. Warm thawed slices briefly in a toaster oven to get that fresh-baked taste back.
The bread’s flavor gets better after it sits for 24 hours as the spices blend together perfectly. For special occasions, you can cut the bread into small cubes to add to brunch platters or turn leftover slices into a delicious bread pudding.
How to Make an Easy Zucchini Bread Recipe in 5 Simple Steps
Course: BreakfastCuisine: AmericanDifficulty: Easy10
slices15
minutes55
minutes210
kcalA moist and flavorful zucchini bread perfect for snacks or breakfast.
Ingredients
Dry Ingredients:
2 cups all-purpose flour
1 tsp baking soda
1 tsp baking powder
1 tsp cinnamon
1/4 tsp nutmeg (optional)
1/2 tsp salt
Wet Ingredients:
2 eggs
3/4 cup sugar
1/4 cup brown sugar
1/3 cup oil
1/3 cup applesauce or yogurt (optional)
1 tsp vanilla
Add-ins:
1 1/2 cups grated zucchini
1/2 cup nuts, raisins, or chocolate chips (optional)
Directions
- Preheat Oven: 325°F (165°C), grease or line a 9×5-inch loaf pan.
- Prepare Zucchini: Grate and lightly squeeze out excess moisture.
- Mix Dry Ingredients: Combine flour, baking soda, baking powder, cinnamon, nutmeg, and salt.
- Mix Wet Ingredients: Whisk eggs, sugars, oil, applesauce/yogurt, and vanilla.
- Combine: Fold wet into dry until just mixed. Add zucchini and optional mix-ins.
- Bake: Pour batter into pan; bake 55-65 minutes or until a toothpick comes out clean.
- Cool: Let cool in the pan for 10 minutes, then transfer to a wire rack.
Recipe Video
Notes
- Use small zucchini for best results.
Avoid overmixing to keep the bread tender.
Bake until the center reaches 200°F.
FAQs
Can I use frozen zucchini for this recipe?
Yes, you can use frozen zucchini. Thaw it first and squeeze out any excess water to avoid overly moist batter.
Can I substitute oil with butter or applesauce?
Yes, you can use melted butter for a richer flavor or unsweetened applesauce for a healthier, lower-fat option. Adjust quantities as needed to maintain moisture.

